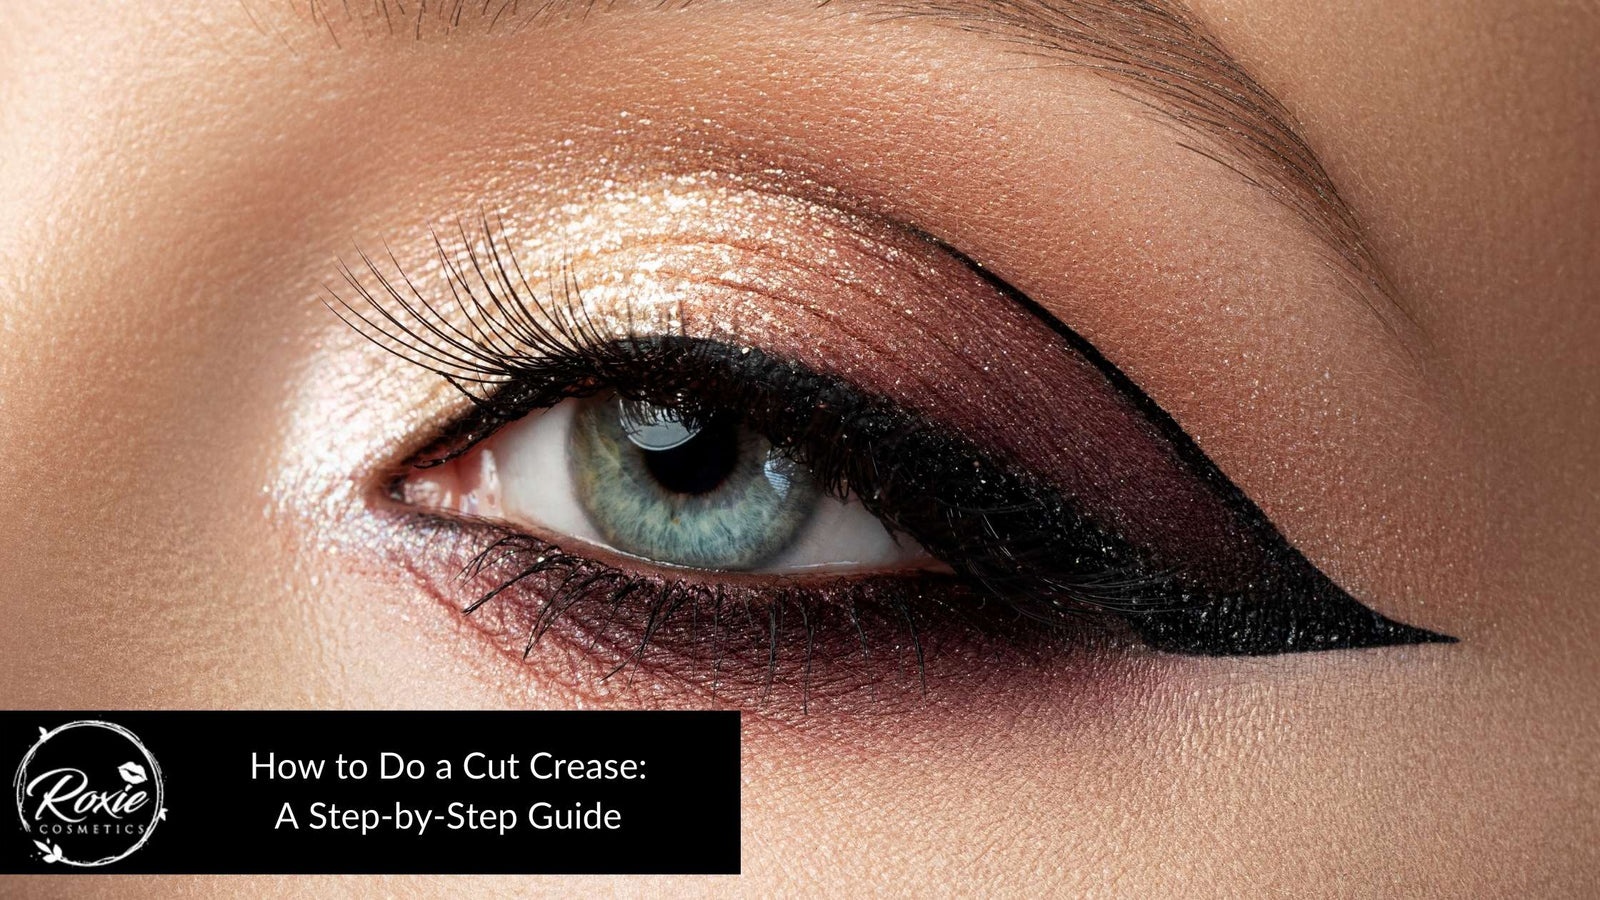
Cut crease eyeshadow is a technical term for a cool eye makeup style. It is usually an optical illusion of eyeshadow that cuts across the crease of the eyelid. This kind of eye makeup technique can create dramatic contrast and can enhance the eye shape, and make the eyelids stand out. The cut crease first became a well-known beauty trend in the 1960s. Along with hippie and mod, fashion, enters the bold and geometric eye makeup. A prominent line often defines the hard crease, with little to no blending. The cut crease is usually paired with false eyelashes and mascara. This unique eye makeup can be subtle with some neutral shadows, a little shimmery and a softer line. Sometimes the cut crease can be super extravagant and dramatic, using many eye shadow colours. The look was iconic in its period, but eventually changed so much over the years. The cut crease look has become more common and wearable. It has evolved into different looks and changes that match modern times.
There are several steps and techniques in creating the iconic cut crease. Creating a beautiful cut crease requires fun imagination and patience to achieve the desired look. Applying an eyeshadow primer is the first step in doing this style. The next step is putting on a base eyeshadow colour. When choosing a base colour, stick to shades that are not far away from the natural skin colour. Carving the crease is what makes the cut crease unique out of all the other makeup techniques. Use a fine tip eyeshadow brush when drawing a line to the crease. When the crease is curved, start applying the eye shadow of choice and blend properly. Adding shimmer can make the eye shadow stand out. For final touches, apply black liquid eyeliner to create more drama. To add more glam to the overall look, put on some false eyelashes to make the eyes more defined.
Listed below are the step-by-step guide on how to cut crease.
- Apply eyeshadow primer.
- Apply your base eyeshadow colour.
- Carve your crease.
- Blend your colour.
- Apply Shimmer Eyeshadow.
- Apply Black Liquid Eyeliner.
- Apply False Eyelashes.
1. Apply eyeshadow primer.
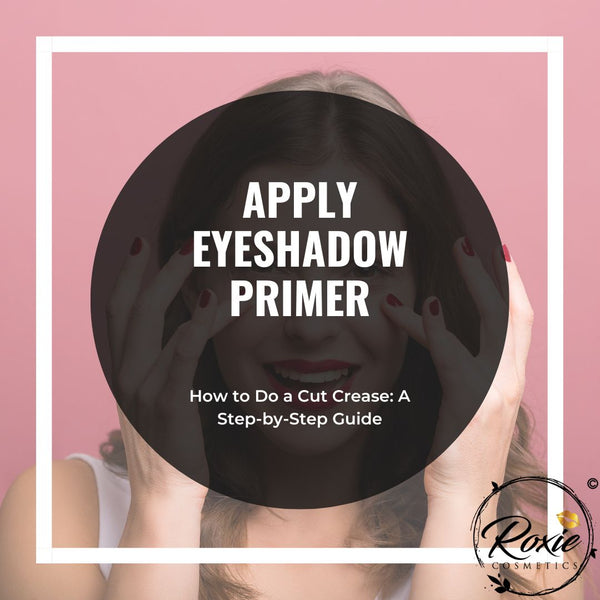
Applying eyeshadow primer needs to be gentle because a little goes a long way. An eyeshadow primer needs to have staying power and enhancing properties. It can help create a beautiful, smooth canvas for the rest of the eye makeup. Furthermore, it can help prevent creasing, so the eye makeup stays perfect all throughout the day. If the lids are oily, a primer will help control shine and transfer of colour. A nice brush may be used when applying an eye primer, but using the fingertips when applying it to the eyelids is much better. Using the fingers allows for maximum control over how much pressure and amount of product to apply. Squeeze the primer onto your ring finger and gently pat over the entire lid; let it sit for a minute before applying eyeshadow. Eyeshadow primer can make eyeshadows last longer with zero smudges.
2. Apply your base eyeshadow colour.
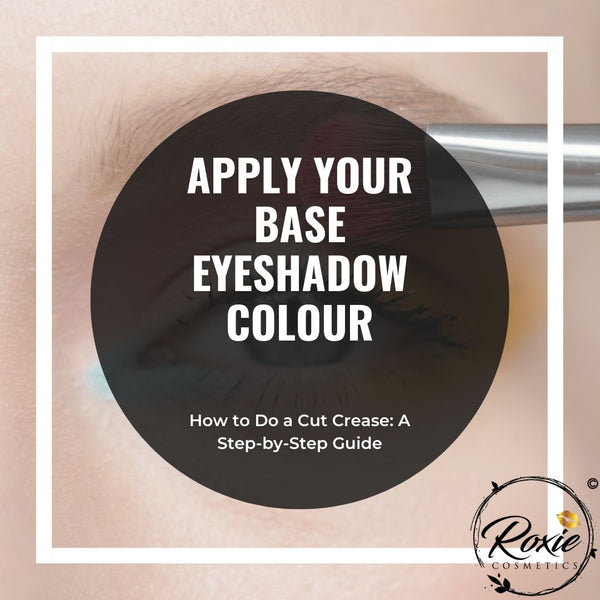
The purpose of the base eyeshadow will set the tone and vibes for the makeup look. When choosing a base eyeshadow colour, lean towards a shade that is lighter than the skin tone. The base eyeshadow will enhance the colour of the shadow and makes it more vibrant. A good base eyeshadow colour will make any eye makeup application stand out and blend smoothly. It will act like a first base coat that can be built up with another eyeshadow colour by blending. A nice base eyeshadow will fire up any type of cut crease, from traditional to modern, and festive.
3. Carve your crease.
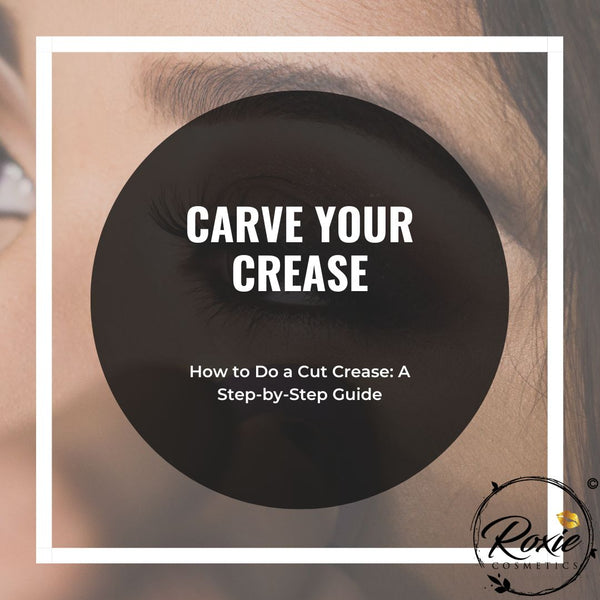
When carving the crease, choose a colour that would stand out for the outline. Pick a slim eyeshadow pencil brush or a brush that has bristles that come to a soft tip for easy application. Create a thin line along the crease in the middle of the eyelid. Slowly apply pressure, so the line grows thicker as the brush moves to the outer corner of the eye. Draw a second line that connects the wider outer corner, to the outer edge of the eyelashes, creating a sideways “V’ shape on the lids.
4. Blend your colour.
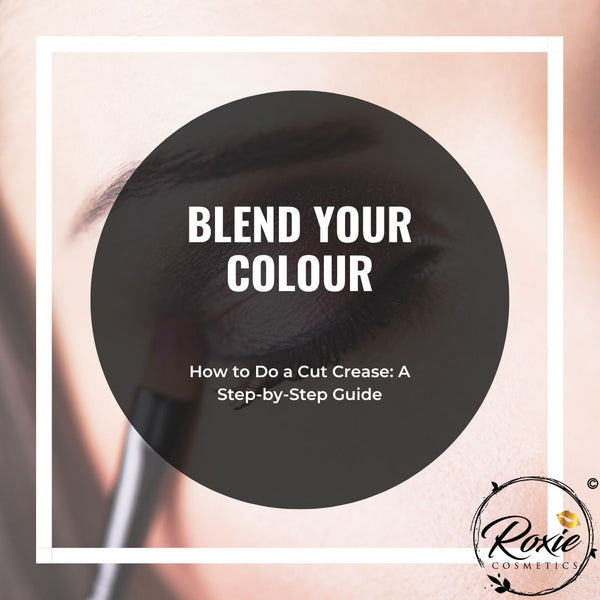
The eye makeup will look like a paint-by-numbers work in progress when not blended properly. A few gentle strokes of a blending brush will save the eye makeup from looking like a preschool art project. When blending the eyeshadow, always go for a circular motion, gently blend the line-up, and blur the edges. Gentle, soft strokes are the key when blending so that colours will not fall out. Choose eyeshadow colours that will complement each other and not contrast for smooth blending.
5. Apply Shimmer Eyeshadow.
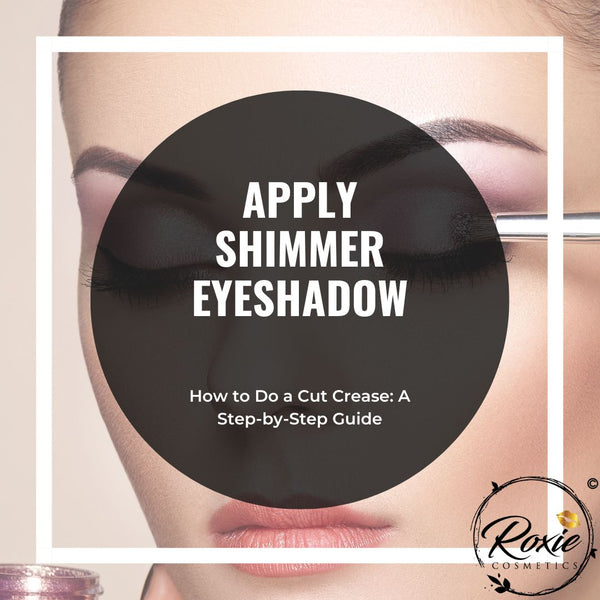
To add more drama and depth to the cut crease eye makeup, a little shimmer may be added. To add a little sparkle, pat shimmer eyeshadow onto the lid using a flat eyeshadow brush. Focus on the center of the eyelid, or the inner corner of the eyes. Avoid putting too much glitter on the entire lid for just a hint of sparkle. It is best to use a fine-glittered eyeshadow powder, not the one that contains bigger chunks of glitter.
6. Apply Black Liquid Eyeliner.
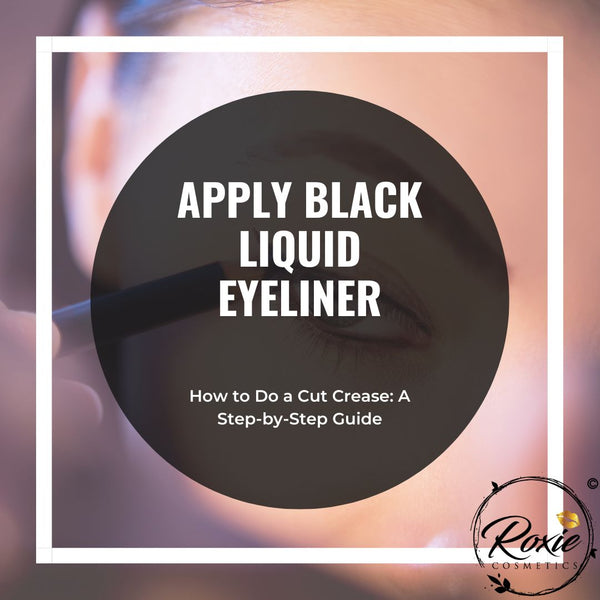
Another way to emphasize the cut crease in eye makeup is by applying liquid eyeliner. Eyeliner, especially the liquid, can define crease lines and can create several cut crease look. It is better to use liquid eyeliner because the formulation doesn’t easily smudge and can last longer than the eyeliner pencil. Use a felt tip liquid eyeliner for easy application and precision. When applying liquid eyeliner, avoid drawing it on in a single line; this will increase the chances of an uneven tail end. Instead, start doing small dots along the upper lash line, evenly giving them space. Using small and soft strokes, gently connect the dots along the line. This technique will create an even line on both eyes when followed.
7. Apply False Eyelashes.
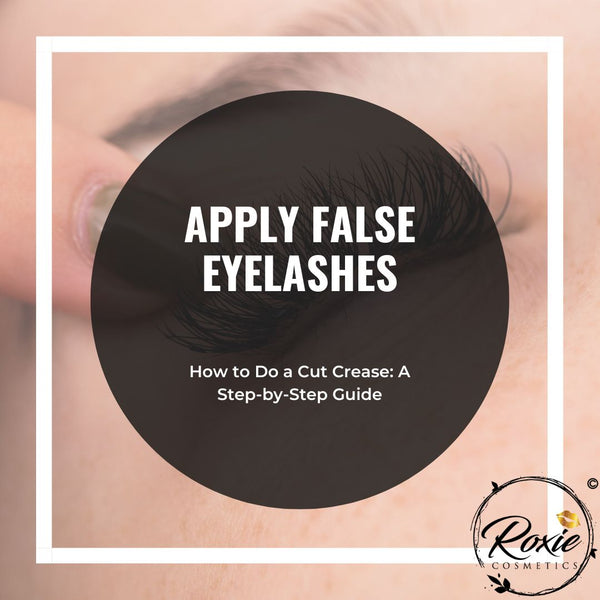
False eyelashes are added on the last part when doing eye makeup. It can add more sophistication to the eyes and can make them appear bigger. Adding false eyelashes needs a lot of patience and practice. Using a tweezer, hold the lashes and put a thin line of glue to the lash band with a cotton swab. Remember to not squeeze the glue directly onto the lash base. Wait for the glue to dry for about 30 seconds; this will make the false lashes less likely to slide around when applied. Put the fake lashes in place right where the eyeliner is and press them gently into the lash line using the tweezers. After placing them properly, adding extra liquid eyeliner will hide the lash strip, and applying coats of mascara will help blend them with the natural lashes.
How to do a cut crease using foundation?
Listed below are the steps on how to do a cut crease using foundation.
What are the different kinds of cut crease?
Listed below are the different kinds of cut creases.
What is the best eyeshadow colour cut crease?
Listed below are the top 5 best eyeshadow colour cut creases.
The natural cut crease is one perfect eye makeup, especially for beginners. It doesn’t require a dramatic crease line to create the look. Neutral colours are needed, like browns and nudes. It is perfect for everyday eye makeup that is stylish and not too loud. It is a classic look that can be worn on any occasion. A neutral cut crease is one of the easy-to-execute cut crease techniques that uses safer colours perfect for all skin tones.
The double-cut crease is one of the 5 best cut crease eyeshadow looks to try. It is very sophisticated, and it adds more depth to the eyes. This kind of cut crease is best for those who have hooded eyes. Hooded eyes do not have creases, and that’s what the double-cut crease provides. It creates an optical illusion of having deep creases.
Glitters add a cute and festive vibe to any makeup. It instantly brightens the eyes, making them pop. The Glittery Cut Crease is a fun way of expressing playfulness when it comes to makeup. It doesn’t need a perfect application and can work well with different colours. Just don’t overdo it because glitters have the tendencies to be stuck on the creases and define fine lines.
Layering varieties of shades makes the Colourful Cut Crease a favourite among the cut creases styles. There are no limitations to colours and styling. There are many colour combinations that can be created with this eye makeup and learning what combinations will complement the natural colour of the eyes. Use 3 or more colour combinations from an eyeshadow palette, and blending them well will make this look an instant winner.
The Modern Cut Crease can easily be created using colourful pencil eyeliners. The secret is to create a single line of colours defining the creases. Leave the eyelids blank and no need for colour eyeshadow. A minimalist take on the classic cut crease. This style is very modern because it only needs geometric lines and no need for thicker eye shadow applications.
What are the best concealers to use for cut creases?
Listed below are the best concealer to use for a cut crease.
Is cut crease good for hooded eyes?
Yes, the cut crease is good for hooded eyes. The cut crease is perfect for those who have hooded eyes because it adds shape and definition to the eyes. The cut crease features a distinct line that “cuts” at the crease area to create depth and contouring around the lid. This eye makeup is very popular with persons with hooded eyes because it creates an illusion that they have more defined creases.

