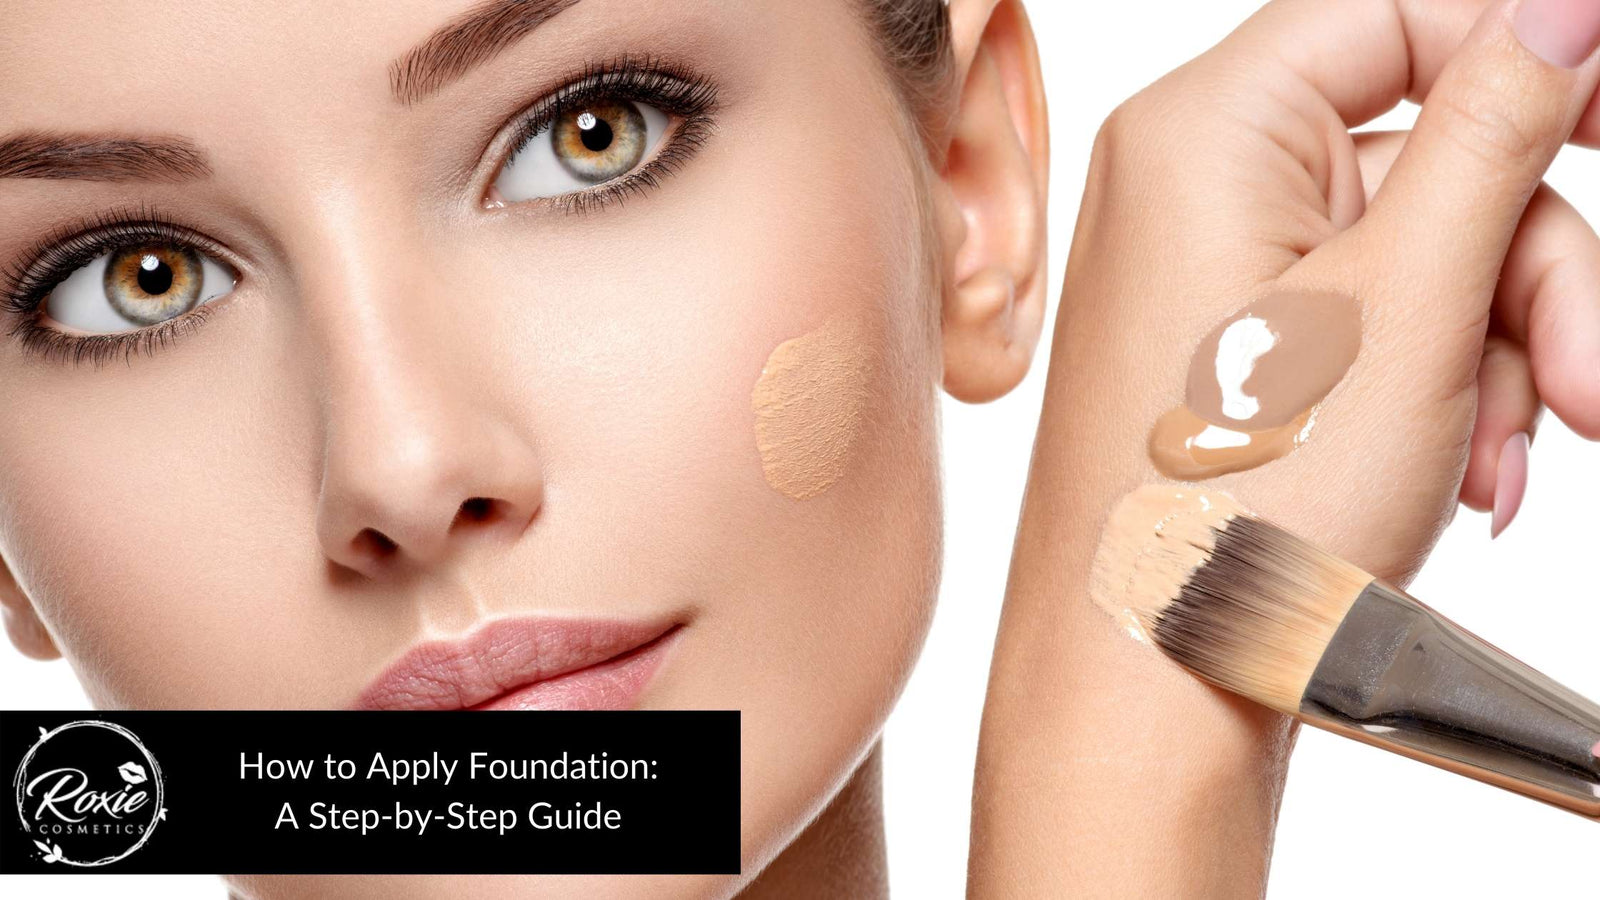
Foundation is a type of makeup that is essential for the beginning of the makeup process. Foundation is one of the most important and popular makeup equipment in the makeup industry. The purpose of the foundation is to give an equal skin tone and hide the flaws on the face such as blemishes, pores, and hyperpigmentation. In addition, it provides a lighter skin colour, and paves a way for easier application and blend of more complex makeup products. It comes in different types such as liquid foundation, powder, and cream. To properly apply a foundation, it must be based on a step-by-step process.
The entire application procedure is divided into three phases, namely, the preparation, the application, and the setting. The preparation starts with cleaning the face to rinse off dirt and bacteria. It is then followed by moisturising the skin to give an even distribution and a barrier between the skin and the foundation. Lastly, apply primer to prevent the foundation to look dull and flawed. The actual application starts with choosing the right shade of foundation and ends with the blending on the entire face. The foundation must be set to avoid ruining it while it is still being used. Setting powder will help in providing support to the foundation while enhancing its finish at the same time. Provided below is the proper and detailed step-by-step process of foundation application.
1. Cleanse your skin

It is very important to clean the face to prepare it for the application of foundation. It is a must to have a clean face before applying to ensure that the foundation has been applied evenly without any bumps or dirt trapped between the skin and the new layer. Having a foundation on the face while it is dirty may affect the quality of the looks, and it may also cause irritation and breakouts. In cleansing the face, start with choosing a gentle cleanser to avoid having red, irritated skin. Do not use an alcohol-based or a kojic soap, as it will give a tight and itchy feeling to the skin, leaving it dry and prone to irritation. The next one is to wet the face evenly using tap water. Put a generous amount of gentle cleanser on your palm and spread it thoroughly, then put it on the face. Make sure to have a gentle circular motion all over the face to get rid of dirt and excess oil properly. Lastly, rinse the face with tap water and use a face towel or tissue to dry it. Do not use clothes or body towels because these may contain dust and bacteria that can cause harm to the face.
2. Moisturize your skin

Just because the cleanser that has been used is gentle, it does not mean that it did not strip away natural oils and moisture from the skin. The water itself is capable of removing these natural lubricants, and now it is more capable with the help of chemicals from the cleanser. Therefore, using a moisturiser is significant to help the skin regenerate and to create a barrier to avoid the foundation from directly sitting on top of the skin. The moisturiser will also provide a better setting to make the foundation appear glowy; not dry, cakey, and dull. Furthermore, the foundation will be applied evenly and fairly throughout the face if it is well-moisturised. To apply a moisturiser, begin by choosing what type is compatible for you, whether it is a gel-type, water-based, cream, or oil-based. Second, grab the chosen moisturiser and apply it evenly on a well-dried face. Depending on what moisturiser is being used, it must be used with a plastic applicator, if it is gel-type, cream, or oil-based, to avoid transmission of dirt and bacteria into the container. The water-based can be simply sprayed all over the face like a facial mist. If using a gel-type, cream, or oil-based, it must be distributed equally on the face using the fingers. Lastly, allow the moisturiser to be absorbed by the face for a couple of minutes before proceeding to the next step. The water-based is expected to take less time to dry and be absorbed compared to other types.
3. Apply Primer

Now that the skin is moisturised, it will be prone to the production of natural oil, especially for people with oily skin types where excessive production of oil all over the face is expected throughout the day. Thus, applying a primer on the face must not be forgotten to ensure that the foundation will have a smooth and glowy appearance, showing little to no flaws. The primer does not only target oily skin and enhances the appearance of the foundation; It also helps with hiding the pores, hydrating the skin, and temporarily improves black spots and hyperpigmentation. It usually comes in a liquid form, whether in cream or gel type. In applying primer, it will be best to choose the ones with the most natural formulation to avoid damaging the skin. To start the application, put enough amount of primer on the face. Make sure that it is not excessive nor less than what the face requires to cover it properly. Gently rub the primer on the entire face in a circular motion. Let the primer dry and be absorbed by the skin before proceeding to the next process.
4. Choose the best foundation shade for you

Foundation comes in different shades, and so do the skin tones and undertones. In choosing the best foundation shade, the skin tones and undertones must be considered and checked carefully. Skin tones are the outer surface of the skin and fall under the categories of fair, medium, and deep. Undertones, on the other hand, can be identified through the colours of the veins in the wrist; these determine whether the undertone is cool, neutral, or warm. People with cool undertones are suggested to use foundations with these bases, pinkish, red, and blue, as their skins can be easily burned by the sun and are prone to redness and blushing. Thus, those with cool undertones and fair skin can use a rose shade foundation; those with medium skin tones can opt for porcelain, and those with deep skin tones may choose cocoa shades. The neutral tones, on the other hand, must use medium golden shades to match their undertones that can tan slightly after direct exposure to the sun. The neutral undertone and fair skin can use nude, or ivory for those neutral with medium skin tone; the deep ones under the neutral undertone are good with the buff shades. Lastly, the warm undertones must be matched with golden to yellowish shades to match the skin’s quick tanning and bronzing characteristics. Under the undertone, the fair skin may use a gold shade; the medium skin tone can go with caramel, and the deep one is great to be used with a tan foundation shade.
5. Apply your Foundation

The application of foundation must start with choosing which type is comfortable; may it be liquid, powder, or cream. For liquid foundation, put a little amount of foundation first in the hand. Choose a brush that has a long handle, high volume and flexible strands, and must have a circular shape to provide a proper and even blend. Dip the brush into the foundation. Place the brush in the centre part face and start moving outward to begin the application and blending on the entire face. Make sure that no part of the face has not been covered with the liquid foundation. Using powder foundation, on the other hand, requires a brush with short and large handles for an easy grip; it must also contain thin bristles in order for the powder to blend seamlessly, and white-tipped bristles to see the amount of powder on the brush. Start by dipping the brush directly into the powder. Check if a generous amount of powder has stick to the brush, then start applying it directly in the centre of the face and start going outward. Blend it more evenly on the face, if necessary. Lastly, if using a cream foundation, use a brush with densely-packed bristles, long handles, and either flat or circular shape. Dip the brush directly into the cream foundation container. Place the brush in the centre, specifically on the nose, and start going outwards as the brush is starting to blend and apply the foundation all over the face. Do not forget to check if the face is completely covered with foundation before proceeding to the next and final step.
6. Set Your Foundation
After applying foundation, it will be great to make it last for several hours. A good setting powder will enhance the appearance of the foundation, keep it fresh, and away from melting and drying. In setting the foundation, first choose a larger brush for faster and more even application of powder, then opt for a good quality setting powder. Start dipping the large brush into the powder container to get enough amount of powder. Place the brush directly in the face and start doing an outward motion. If the setting session is about to end, start going in a downward direction to let the hair go downward and avoid a hairy makeup appearance. It will also be a good choice to apply a darker powder if the foundation is lighter compared to the original skin tone; otherwise choose a lighter powder.
What are the tips to choose the right foundation shade for your skin tone?
There are more than fingers could count shades available in the market right now. With the situation, a question arises, how to find your perfect foundation shade match? To choose the right foundation shade, always check the skin tone and undertone. After knowing the definition and differences between these two, it will be great to check it on the skin. The skin tone can be classified based on searching the shade chart on the internet. With the shade chart, put the skin close to the suspected skin tones and if the tone perfectly matches the skin, mark it. After identifying the skin tone, it will be the undertone’s turn. The undertone can be identified through the colour of the veins on the wrist. The bluish veins are for cool undertones; the bluish to green is neutral undertone, and the green to olive is warm. Now that the skin tone and undertone have been identified, the search for the best foundation shade can now be started. The right shade must fall under the category of the skin tone and undertone so that the foundation will look great on the face.
What are common mistakes of applying foundation?
Applying a foundation takes a lot of preparation and process. It does not start with simply putting foundation on the skin and ends with blending it with a brush or sponge. People tend to skip the step-by-step process and do not even identify their skin and the equipment needed. Listed below are the 7 most common mistakes in foundation application.
What is the best foundation to apply?
There are various brands that release different variants of foundations yearly, and these might be overwhelming for some people, especially beginners. Listed below are the very best foundations for your skin, which are sorted and chosen by makeup experts and enthusiasts.
Is it better to apply foundation with a brush or sponge?
A makeup sponge is much better than using a brush to apply and blend the foundation on the face. The sponge gives the skin a much more flawless and natural-looking result than the brush, considering that the makeup sponges directly push the foundation into the face. Therefore, it will stick to the skin more and make the products last longer all over the day. Another reason to choose a makeup sponge is because of its flexibility. One makeup sponge can do many tasks, unlike brushes that are limited to 2 or 3 purposes only. Lastly, the makeup sponge comes in smaller sizes, which means that it is portable and can leave a bigger space in your makeup bag. Just make sure, before using any applicator, make sure that it is clean to avoid causing irritation and other complications. Thus, the debate between makeup brushes vs. sponges has been answered.