Curling the hair is one of the most fashionable ways to style the hair. It is the art of creating curls or waves by using a heated tool or hair product. Curling the hair has been around for many years, and it has been used by many women. During ancient times, women used wet clay to set their hair into curls and then let it dry under the sun. In modern times, electricity plays a big role in achieving gorgeous curls. There are different tools that can be used to curl the hair, one of them is the flat iron. Surprisingly, the flat iron or commonly known as a straightener can also be used to create waves and curls.
There are so many ways to create beautiful curly styles using a flat iron. Anyone can make gorgeous curls by following a step-by-step procedure using a flat iron. The first basic step to follow is to create hair sections. This step is important because it will make the process a lot easier. When the hair is sectioned properly, start working in one-inch sections. Do not start curling the hair with bigger chunks of hair. To create curls of the same size, always get a one-inch section of the hair. Then curl the hair in the same direction and position, repeating the process until the whole hair is done. Loosen up the ringlets using a comb or the fingers, to create natural-looking waves. Then finish it off with a setting hairspray that will lock in the looks and set the curls. Remember to always practice curling the hair to achieve any desired curly styles.
Listed below is the step-by-step guide for beginners on how to curl hair with a flat iron.
- Create your sections.
- Work in one-inch sections.
- Time to curl.
- Use that same motion all over.
- Loosen up the ringlets.
- Lock in your looks.
1. Create your sections.

To start curling the hair with a flat iron, begin by splitting the hair into sections. It is much easier to work with each section of the hair to ensure that no chunks of hair will be missed out. When it comes to splitting the hair into sections, divide the hair into three sections. Use a fine-tooth comb and create a top, middle, and base section. Make sure that all three sections have the same amount of hair. This will help in creating curls of the same size.
2. Work in one-inch sections

Take a piece of hair about an inch wide. Make sure to get an even amount of strands when curling the hair. This will allow the same size of curls and even looking curly style. Curling the hair with the same portion of hair strands will allow the iron to distribute the same amount of heat, thus creating beautiful curls. Working in one-inch sections will be a lot easier because the hair is divided into smaller sections.
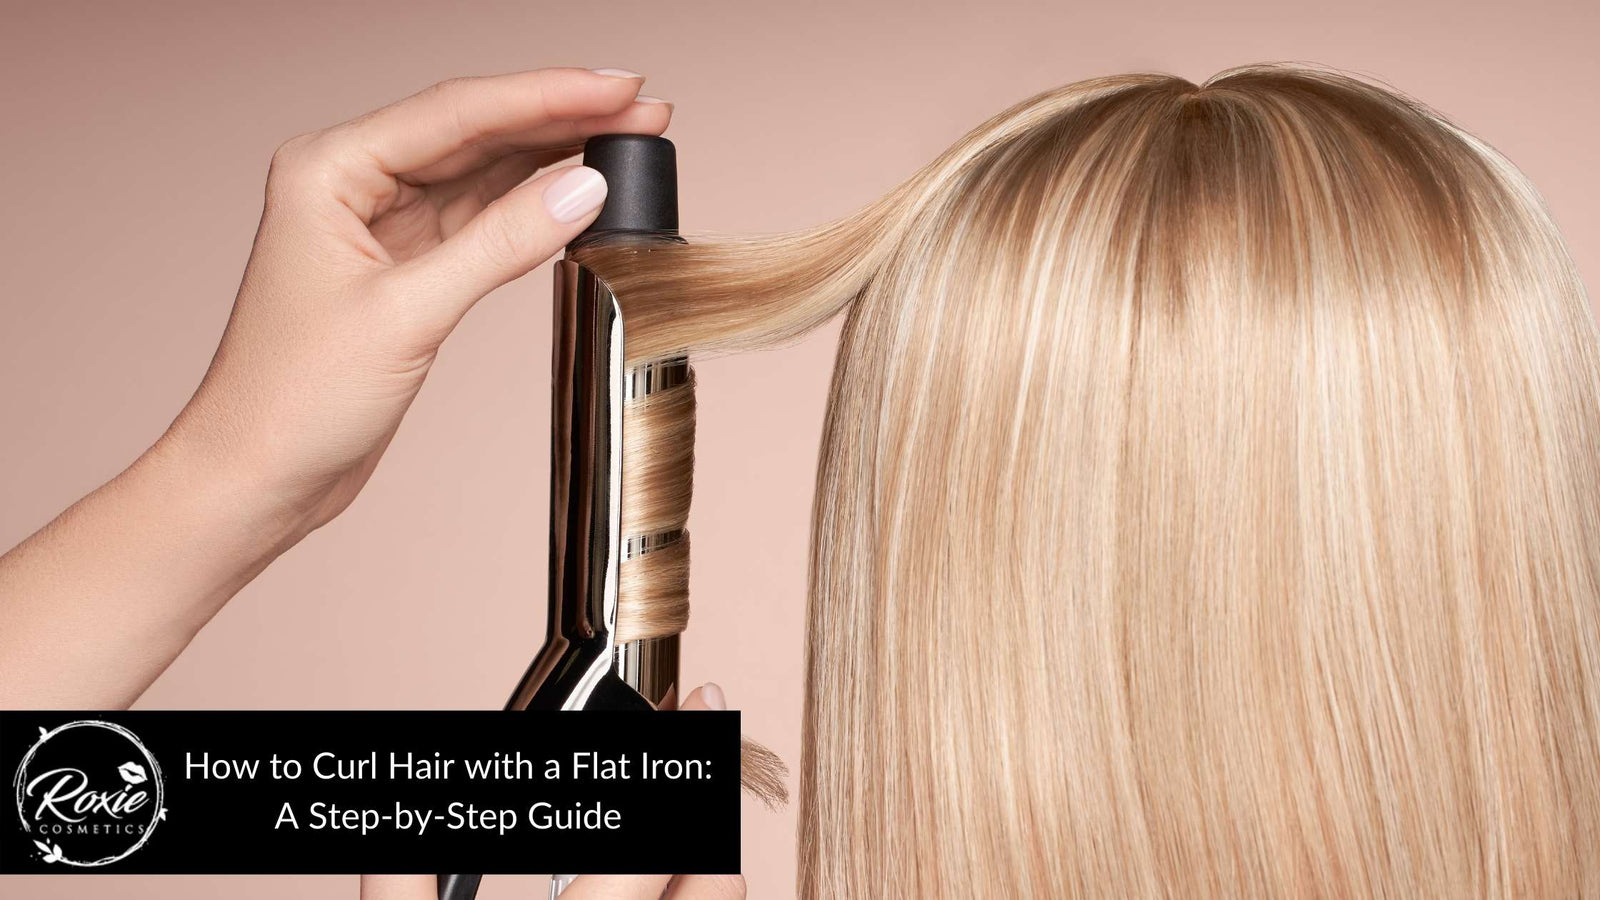
3. Time to curl

Start curling by clamping the hair inside the flat iron, and placing it where curls must start. Wrap the ends of the hair over the heated flat iron, while gently twisting it. Then, drag the flat iron down the length of the hair. Carefully drag the flat iron in a slower manner so that enough heat will be distributed to each hair strand. When using a flat iron to curl the hair, there’s a probability that curls won’t look the same. There are a lot of ways to curl using the flat iron, just make sure to choose the same direction for each section of hair for a uniform look.
4. Use that same motion all over

To achieve beautiful curls with the rest of the hair, repeat the same process. Always start by taking an inch-wide piece of hair and work to create lovely curls. For more defined curls, try manually wrapping the hair around the flat iron, then slowly pull it down. Finish curling the hair in the same direction.
5. Loosen up the ringlets

When the rest of the hair is done, loosen up the ringlets. Using the fingers, gently stroke each ringlet to loosen them up a bit for a natural look. A nice-looking curl should have movement and bounce. Curls should not look like the chord of a telephone. A soft brush may be used for looser curls and to smoothen out portions of the hair.
6. Lock in your looks

To make the final touch to the gorgeous curls spritz the hair with a setting spray. This will allow curls to set and prevent the curls from dropping. A nice hairspray must provide a nice hold while allowing the natural movement of the curls. It should not weigh it down and lose the curls. A setting spray is an essential product that will make beautiful curls maintain their hold and set them perfectly.
What to know more before curling hair?
There are things to know more about before curling the hair. Having a good flat iron is a good start when curling the hair, but there is more to know than that. The hair is the crowning glory and how it looks is important to many. Curling the hair is one stylish hairdo that anyone can easily do. While there are video tutorials available to watch, it is important to know more about curling hair.
Listed below are the things to know more about before curling the hair.
What are the common mistakes of curling hair?
Curling the hair may seem easy and anyone can do it. It just needs a heated styling tool and starts curling. That is one misconception about curling, it may look easy to do, but it takes a lot of practice and patience to create a perfect curl. There are quite a few common mistakes when curling the hair and if there are things to consider avoid them.
Listed below are the common mistakes of curling hair.
What are the different kinds of curled hair?
Curling the hair is one of the stylish hairstyles a woman must try. There are different types of curls, depending on what technique, tools, and products are used on the hair.
Listed below are the different kinds of curls.
Is it necessary to use hairspray when curling your hair?
Yes, it is necessary to use hairspray when curling the hair. A hairspray can actually make the curls stay for hours. Now the only concern is, should you use hairspray before or after curling? Hairspray must be sprayed onto hair after curling the hair, this will make curls set and stays.
Is it allowed to shampoo your hair before curling it?
Yes, it is allowed to shampoo the hair before curling it. Clean hair is a good state to start when styling the hair. Oil and dirt build-up can make the hair greasy and flat. To make curls hold longer, try skipping the conditioner. Conditioner makes the hair soft and slippery, and curls won’t be able to last long. The hair should have a bit of grit to hold the curls longer.