Bubble nails have been a hit on Instagram for a few days when it comes to nail art. We are not surprised, because they are so easy to make and the effect is brilliant! Seriously, nails look like a little piece of art. We guarantee that you can make this decoration. It is very, very simple and requires no artistic skills!
Bubble nails - how to make an effect straight from an Instagram photo?
Nail art is something that women all over the world love. They can make each styling unique, exceptional and original. Currently, you can find a lot of decorative products on the market. Dusts, stickers, foil or ornaments - each of them will allow you to achieve a slightly different effect. The latest hit in nail art is Bubble Nails. What are they and why are they so popular? Most of you who are interested in the subject of nails and follow internet trends know how to make foam nails, but for those who are still uninitiated, we reveal a quick recipe for effective Bubble Nails.
Foam Nails – its only foam
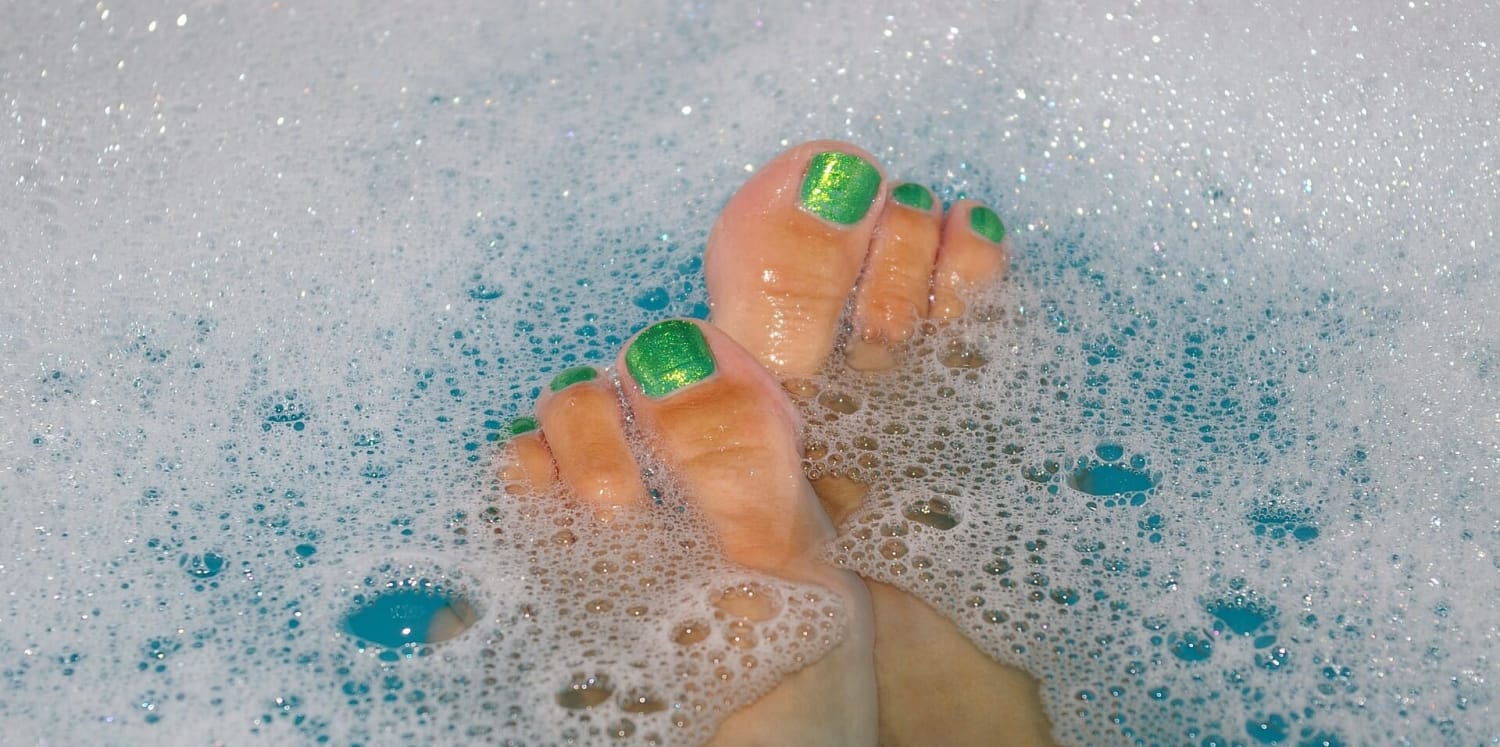
Bubble Nails is nothing but bubbles on the nails. They are created thanks to the application of soap foam on properly prepared tiles, which, after curing in the lamp, allows for spectacular decorations. Bubble Nails supporters emphasize the ease of making such a manicure and a brilliant end result. What is necessary to make this nail art?
What do I need to make Bubble Nails?
Before we list everything necessary to make Bubble Nails, we would like to emphasize one point once again. It is a nail art that can be obtained by any woman. No special equipment is needed here. You don't even have to be precise - the more randomness the better! In the case of this type of manicure, hybrid varnish, pollen, top no wipe, as well as soap foam will certainly be necessary. Just enough! Of course, before you go to nail art, you should prepare the plates properly. Let's go through the entire process of creating Bubble Nails.
Bubble nails step by step
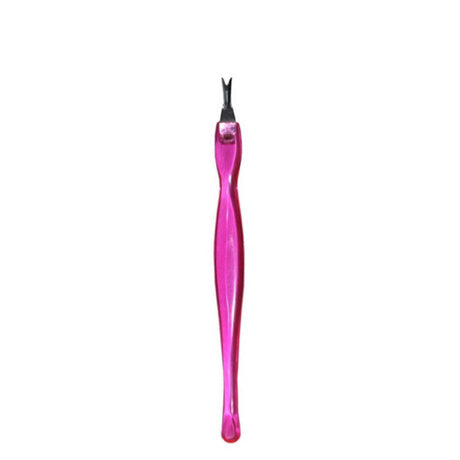
As we have already mentioned, before you make Bubble Nails decoration, do not forget about the tile preparation stage. Shape nails, get rid of cuticles and polish plates. You can style your hands so cared for.
Painting tiles
The first stage of decorating is applying nail polish to the plates. Most often, dark colors are used for this - e.g. black or navy blue - due to the fact that they best emphasize the effect of pollen rubbed in later. Actually, you can choose any color of hybrid varnish - after all, it's your nail stylization and you must feel the best in it. Cure the painted nails in a UV / LED lamp.
Rubbing the pollen
After the painted nails are cured, rub the pollen into them. You can also use any product here. It all depends on what effect you want to get. Stronger or weaker? More or less shiny? The decision is yours alone!
Top painting nails
Then paint your nails with a top coat. In this innovative top no wipe formula, the so-called "Smart polymer". Thanks to it, the top surface regenerates itself and the nail styling effect is even more durable. After painting the nails with the first layer of the top coat, we harden them in the lamp. Then we apply the second layer, after which we do not put our hands in the UV / LED lamp.
The use of soap foam
Apply the soap foam to the still wet top no wipe. It should cover the entire plates. Then put the nails with the foam into the UV / LED lamp. After removing the hardened nails, remove the remaining foam from them. In this way, we get ready Bubble Nails.
Foam with soap or washing up liquid?
You can prepare the foam with both soap and dishwashing liquid. We tested two ways and we like the effect obtained with regular soap better. However, you need to act quickly with the foam application because it likes to slide off the nail. We also tried to bypass the step of hardening the first layer of the top and applied the top and foam to the hardened color, unfortunately the effect was not satisfactory for us - the nails turned out rough and unpleasant to the touch.
Bubble nails - who is it for?
This nail art - although original and very effective - is worn on the nails of women of different ages and lifestyles. Advanced nail lovers choose Bubble Nails primarily because they are very fashionable and attract attention. Beginning adepts of the art of nail styling appreciate the simplicity of their implementation with such a fantastic effect. Bubble Nails are worn by both younger and older women. Remember that a lot depends on what varnish and dust you choose for the manicure. Even people who prefer a more "conservative" manicure can treat themselves to this decoration on the plates. All they need to do is paint their nails with a lighter nail polish.
Let yourself go crazy with bubble nail art!
The foam effect or Bubble Nails are currently winning the hearts of nail lovers around the world. These are one of the most popular styles on Pinterest and Instagram. If you want a spectacular effect on your nails, choose bubble ornaments and you will surely be delighted! This type of manicure looks as if it was very time-consuming and laborious, but it is simple and quick to perform. Join the group of Bubble Nails lovers and enjoy beautiful and effective nails for a long time!

