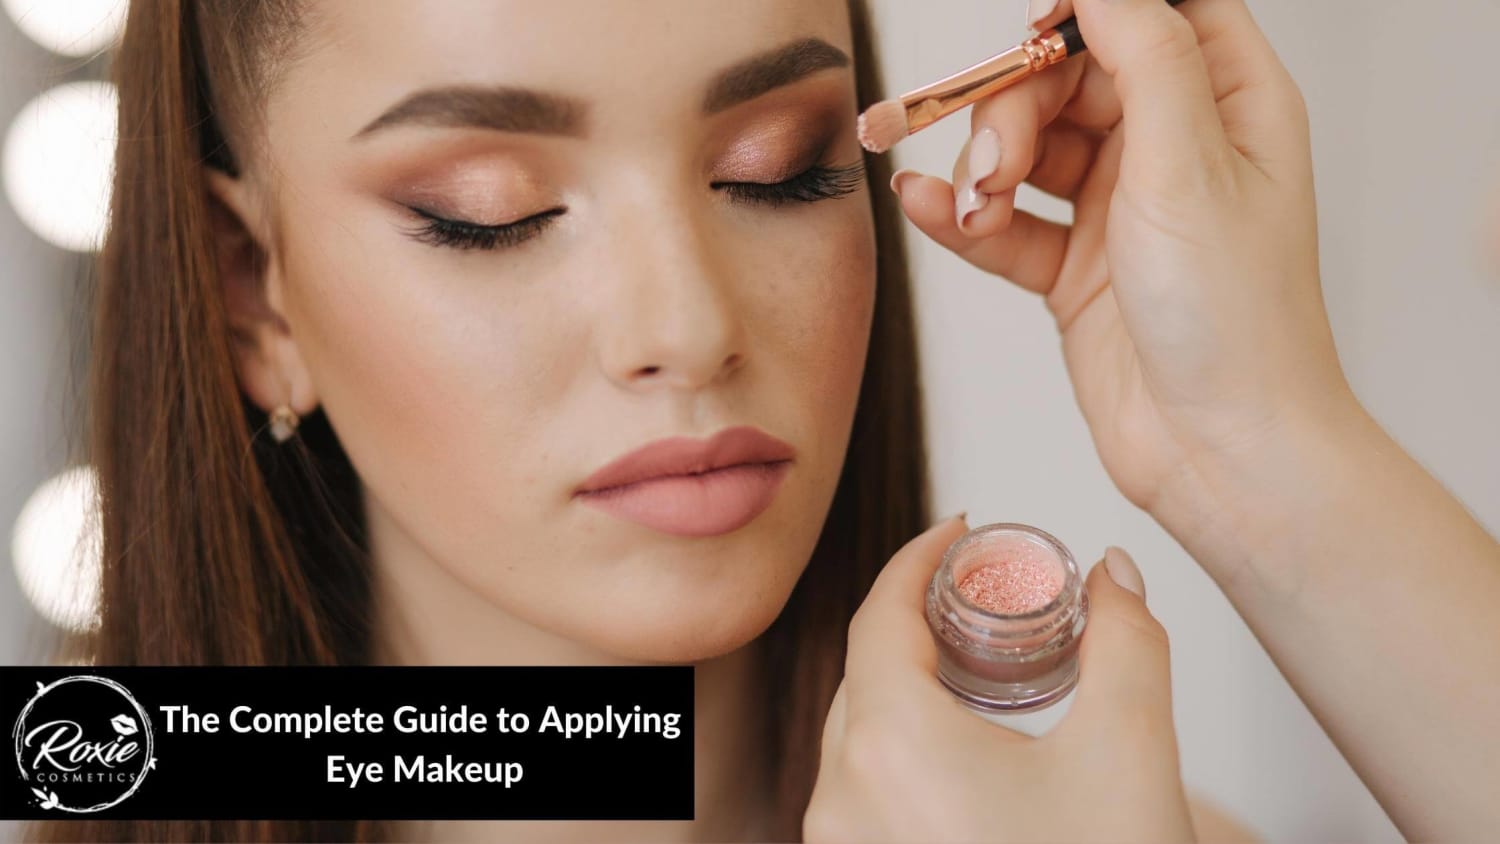
Makeup for the eyes has been there since before Cleopatra. It's common to feel overwhelmed walking down the makeup aisle with so many options ranging from powders to creams to liquids and even glossy looks. The makeup industry is constantly changing, with new tips, tricks, and products appearing seemingly on a daily basis. Even if one is a makeup beginner, staying on top of trends and application methods can help them achieve a look that is timeless rather than dated. However, some makeup products can be more intimidating than others. Applying eyeshadow is a simple process. But learning how to apply eye makeup correctly is not an easy task. If one wants her makeup to last throughout the day, she needs to use a good eye makeup base. Coloured cosmetic products that apply to the eyelid and the surrounding area are known as eyeshadows. They are typically in the form of pressed powder, though this formula can vary. Individuals can find pressed powders, loose powders, baked, creams, liquids, and other types of eyeshadows. Matte eyeshadow, shimmer eyeshadow, satin eyeshadow, glitter eyeshadow, and metallic eyeshadow are just a few of the many formulations and types of eyeshadow.
1. Choose your brush.

Famous artists don't finger paint for a reason: it's much more difficult to create a masterpiece without the proper tools. The same is true for applying makeup. Invest in a few high-quality cosmetic brushes to ensure even, precise and sanitary makeup application. The right tools make any job easier, and great makeup brushes are no exception. A small but well-curated collection of brushes will greatly improve one's eyeshadow game. To begin, a fluffy domed brush, a smaller tapered blending brush, an angled blending brush, a stiff angled eyeliner brush, and a flat shader brush are some brushes that can be used to build a beginner eyeshadow application kit. A fluffy domed brush is fantastic for quickly applying colour to the entire lid and blending it out. To add definition, use a smaller tapered blending brush to blend colours into the crease. An angled blending brush is a one-of-a-kind tool for getting into and blending any difficult-to-reach areas, such as the outer or inner corners of the eye, as well as along the lower lash line. To define and emphasize the lash line, use a stiff-angled eyeliner brush. People can even use them to fill in their brows with a matte shadow that is a few shades lighter than their brow hairs. A flat shader brush is a small flat brush that is ideal for applying eyeshadow to the lids and blending out any liner.
2. Prime your eyes.

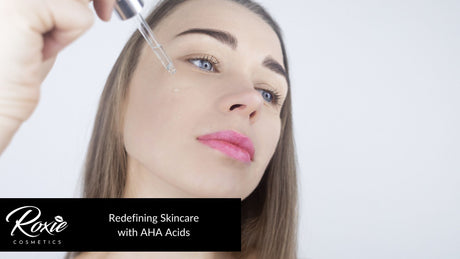
Eye primer is a liquid or cream-based substance that applies to the eyelids before applying shadows and eyeliner to make sure that they apply smoothly and stay in place for a longer period of time. In the same way that face primer keeps one's foundation in place, eye primer keeps eyeshadow from sliding off the eyelids when exposed to heat or moisture. The more eye makeup one wears, the more primer is required. If one has oily lids, she may need to use an eyeshadow primer. Some eye primers contain ingredients that not only control oil but also brighten and intensify eyeshadow. With the ring finger, apply a favourite eyeshadow primer. The ring finger is ideal for applying eye makeup because it has the lightest touch and will not irritate the skin. For all-day wear, gently sweep the primer across the entire eyelid, up to the brow, around the inner corner of the eye where the tear duct is located, and even along the lower lash line.
3. Build your base.

The majority of eyeshadow looks can be easily created with four shades: a neutral shade for the lid, a medium shade for the crease, a dark shade for the outer corner, and a light shade to highlight the inner corner and brow bone. Grab a favourite eyeshadow palette and sweep on a favourite base shade on the eyelid with an eyeshadow brush. Depending on the look individuals want, they can bring this base colour all the way up to their brow bone to prepare for a more dramatic smoky eye, or they can stop at the crease of the eye for a more basic, everyday look. Eyeshadow shades can also be chosen based on the colour of one's eyes. Colours like green, gold, purple, and gray can help brown eyes stand out, whereas red, yellow, orange, and purple can make blue eyes sparkle. Experiment with red, yellow, purple, and gray shades for green eyes. Individuals can also skip the primer and use a cream shadow as their base instead. Begin with a cream product and blend it out with fingers, then go back in and buff the eyeshadow of choice over top with a medium-sized blending brush. By layering the eyeshadow over a base, makeup users will achieve maximum colour payoff, product performance, and their eye makeup will last the entire day without needing to be touched up. From the latter case, here's a foolproof technique: place the colour in the crease of the eye when the eyes are open, and work down toward the lash line. Individuals will never overshoot their crease or end up with sloppy lines this way. Whatever makeup look one is going for, their first layer of eyeshadow will almost always be a neutral shade swept all the way across their eyelid with a fluffy blending brush. They can go with a colour that is close to their skin tone for natural looks, a lighter shimmer for sparkly styles, or a darker shade for smoky eyes.
4. Define your crease.

Defining one's crease may help to define one's eye makeup. This will also make their eyes appear larger and wider overall. By using a darker colour, one can define their crease. Dark colours attract light, so using a darker tone than what they used on their lids makes their eyes stand out by adding depth and dimension in just the right place. Dip a fluffy or angled crease brush into a medium eyeshadow shade for a natural look. Then, close the eyes and apply the eyeshadow in a wash of colour along the lash line and brow bone. Dip a domed brush into a dark shadow and sweep it right along the eye socket, following the shape of the eye between the brow bone and eyelid to achieve the look. When one's eyes are open, and they have hooded eyes, their upper lid covers the majority of their mobile lid. That means they'll have to experiment with different, higher placements for crease shadow because if they just apply it along with the eye socket, the colour will disappear when they open their eyes. Instead, individuals may begin with their eyes open and a brush to mark where they want the dark colour to begin to be visible. Then, close the eyes and blend across, smoothing out any harsh lines and focusing pigment in a "V" shape on the outermost corner of the eye. When applying pigment, individuals should use a light hand. It's always easier to add colour than it is to take it away.
5. Blend and define.

When applying eyeshadow, one of the most important and often overlooked steps is blending. The technique allows you to mix as many colours as you want without being able to see where they begin or end. Consider a watercolour painting and how each colour flows into the next. Don't worry if one's eyes look more painted-on than perfectly blended at this point; that's where those extra blending brushes come in handy. Blend the shades on the crease and outer V with a clean blending brush until they blend seamlessly into the lid. If individuals end up over-blending some medium or dark pigment, simply use their original crease brush to press some more shadow in, then blend. If a person is having trouble diffusing the colours, use translucent powder on a fluffy brush to blend out any hard lines from the eyeshadow. Individuals can also use the same fluffy brush to apply a matte eyeshadow the same colour as their skin to the brow bone. This will help to blend out the colour transition on the lid even more. After the shadow has been perfectly blended, go in and define the lash line. If they prefer, they can start with a liquid or pencil eyeliner. They can either stop at the end of their lashes or create a winged liner look, depending on their preference. Correctly applied eyeliner can make their lashes appear thicker. If a person does not like eyeliner, they can achieve a similar impact with a super-dark eyeshadow. Using a flat, short-bristled brush, apply the dark colour along the edges of their upper eyelid, where their eyelashes begin, and along the lower lash line.
6. Highlight away.

The final step is to highlight the eyes with the lightest eyeshadow. By applying a shimmery pale eyeshadow or pencil directly under the brow, one can make their brows stand out and add lift. A highlight under the brow is useful for separating the brows from the eyeshadow. Some people even use a highlighter in the inner corners of their eyes to wake up a tired eye and brighten things up. A light matte eyeshadow will give you a fresh, natural look that is ideal for the day. Use a shimmery shade for added drama. Individuals can also add megawatt shine with their favourite cheek highlighter. Whichever shade they choose, they should apply it along their brow bone to give their face a wide-awake and lifted appearance. Individuals can also create the illusion of a full night's sleep by dabbing it along the inner corners of their eyes. These two techniques will make their eyes appear larger, brighter, and more alert. Finish with a couple of coats of mascara, and don't forget to fill in the brows because this step makes a big difference in balancing out one's makeup look.
What brushes are used in eye makeup?
There are numerous types of eye makeup brushes on the market. The basic brushes that can be used to build a beginner eyeshadow application kit are a fluffy domed/angled brush, a smaller tapered blending brush, an angled blending brush, a stiff angled eyeliner brush, a flat shader/flat applicator brush, a flat-angled brush, and a pencil brush. Another blending brush for the outer corners and brow bone to crease the transition area is a fluffy domed brush. This makeup brush tool is great for quickly applying and blending colour to the entire lid. To add definition, blend colours into the crease with a smaller, tapered blending brush. An angled blending brush is a one-of-a-kind tool for getting into and blending any hard-to-reach areas, such as the outer or inner corners of the eye, as well as the lower lash line. Use a stiff-angled eyeliner brush to define and emphasize the lash line. They can even be used to fill in brows with a matte shadow that is a few shades lighter than brown hairs. A flat shader/flat applicator brush is a small flat brush used for applying eyeshadow to the lids and blending outliner. This eye brush's primary function is to pat or pack eyeshadow onto the eyelids. A pencil-shaped brush, typically petite, is used for smudging colours along the upper and lower lash lines as well as applying a highlighter near the inner corner or tear duct area. They can also be used for the outside 'V'. Blending Brush is a fluffy brush used to blend eye colours in the crease. This is a good starting point for both beginners and professionals. The flat-angled brush is primarily used to fill in the brows. It is also useful for applying gel liners and colours to the crease.
What primers are used in eye makeup?
Eye primer solves everyone's smudged-up eye makeup problems. An eyeshadow primer, like a face primer, creates an ideal base for the rest of your face makeup to adhere to. It also brightens whatever you put on top. Face primers can also be used in place of eyeshadow primers. However, while using some face primers as an eye primer is preferable to using nothing at all, it will not work as well as a primer designed specifically for use on the eyes. This is because the skin on the face differs significantly from the skin on the eyes, and as a result, each product does something different. Most facial primers are designed to prep the skin and extend the wear of one's makeup by filling in their pores and fine lines; some even include pigment to give their foundation extra coverage or a glow. Eye primers function uniquely. Making a smooth and moisturized canvas for the eyes will cause eye makeup to slide around, making a person more prone to creasing. Because the skin around the eyes is not nearly as porous as the skin around the face, a facial primer will almost certainly not absorb completely. Concealer is also as effective as any store-bought eyeshadow primer.
Is it easy to apply eye makeup?
Yes, applying eye makeup is simple because there is no correct way to apply eyeshadow. After all, the fun part about eye makeup is that there are no rules. If a person is a beginner, stick to matte shadows because they're more forgiving of mistakes and look great on any skin tone. If a person wants a dramatic or festive look, use loose powder shadows. It is recommended to use liquid shadows if a person is in a hurry but wants long-lasting wear. Liquid shadows can be applied with a single swipe, don't require any tools, and won't budge once applied. Not to mention metallic shadows, which are ideal for adding a little sparkle without going overboard with glitter.
Is eye makeup expensive?
Yes, eye makeup can be quite expensive. Makeup can be expensive in terms of money. One item may not be expensive, but the cost of everything in a woman's makeup bag, such as foundation, blush, mascara, eyeliner, eye shadow, and so on, quickly adds up. According to one estimate, a woman in the United States will spend an average of $15,000 on makeup during her lifetime. It is also important to know where the makeup is sold. It's a form of marketing in and of itself, as evidenced by the distinction between upscale brands carried by Sephora and Ulta and mass-market brands sold at drugstores. People primarily pay for marketing, packaging, and brand prestige. That's why lipstick, which is mostly wax, oil, and pigments, can cost more than $20 per tube at a department store makeup counter. If a person is on a tight budget, there are also low-cost eye makeup brands and alternative products to consider. However, most makeup enthusiasts are aware of how quickly drugstore shadows fade or settle into their crease by noon. That is not the case with high-end eyeshadow palettes. High-end makeup also offers a lot of skin benefits. A lot of drugstore makeup does not contain a lot of pigments. Using less expensive brands may not result in a stronger hold or a more appealing appearance.

